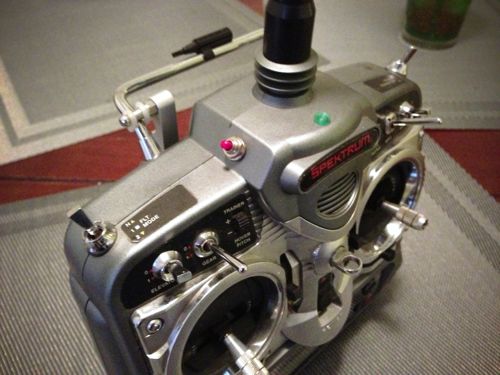
So, for all of you that are flying with a DX7, you know how big of a pain it is to use the stock trainer switch. You have to carefully guide your finger to an inconveniently-placed rocker switch to activate the trainer mode. For me this just wasn’t working, so I decided to install my own switch in a much better location that I could easily reach.
What you will need:
-Push button switch of your choice
-soldering iron
-solder
-philips screw driver
-drill
So to start, head to your local hardware store and get a push button style switch. I would recommend not to just get the cheapest one possible, as you really don’t want it to fail on you. Once you have your switch, we are ready to take apart the transmitter and get this thing installed.
Start of by removing the six screws that are holding the back of the transmitter on. Once removed, carefully lift the back of the transmitter off, but be careful because there are some wires connected to the back. It is not necessary to disconnect these…just be aware that the wires are there.
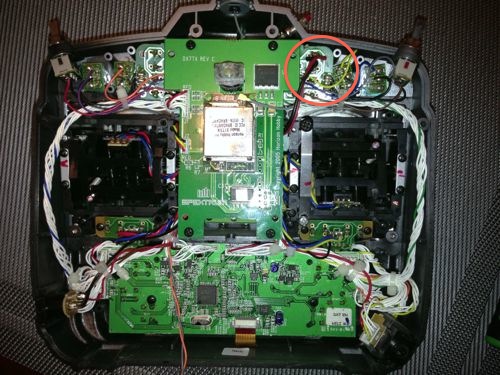
This picture will give you a general idea of the area we will be working in.
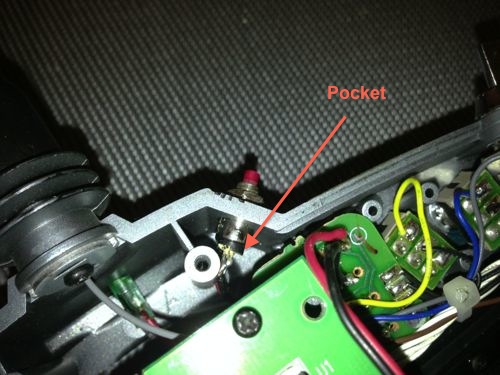
Next, we need to drill a hold in the case so that we can mount the switch. There is really no right or wrong place for the switch. I would recommend holding the transmitter in your hand and seeing where you fingers rest, as you want to be able to comfortably reach the switch. Just be sure that you will not hit anything inside the transmitter when you drill the hole. As you can see, there is a little pocket (see picture below) near the top where I installed mine. Once you have the location chosen, go ahead and pick an appropriately-sized drill bit and drill a hole in the case.
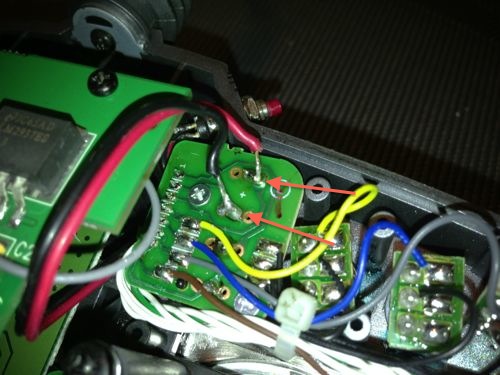
Now, run the wires for the switch through the hole to get them near the location we will be soldering. In the picture above, you can see the exact location where the wires of the switch needs to be soldered. Start off by tinning the wires on the switch and then go ahead and solder the wires on. As you can see, there should be wires coming through the board already, so just add a LITTLE bit of solder and make sure you get everything to flow. The polarity does not make a difference as the switch is just closing or opening the circuit.
Now that the soldering is done, just go ahead and put the back of the transmitter back on. Power on the transmitter and you should find that when you push your new trainer switch, it does the same exact thing as if you pushed the original trainer rocker switch. Once you have confirmed that the switch works, finish mounting the switch and you’re good to go. In my case I used a drop of CA glue to secure the switch in the hole.
That’s it! You’re now ready to do some buddy boxing with your DX7. I hope that this tech tip cleared some things up and everyone is able to do this mod. If you have any questions at all, just shoot me an email at , and i’ll help you out as much as I can.
– Jessie