Making sure that the center of gravity (CG) of your heli is directly over the main shaft is a crucial part of setup. This can effect how flat the disk stays while the heli piros and, in some cases, can even cause the heli to drift if it’s way off. So whenever you change anything on your heli, whether it is new batteries, servos, or other items, make sure you go back and check the CG.
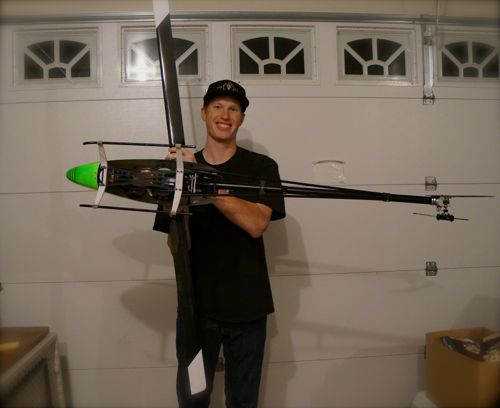
Setting the CG is actually very easy and only takes a couple of minutes. First, make sure that the heli is ready to fly – meaning the canopy is installed, if you fly with one, and the batteries are in. If it’s a nitro, I personally like to set the CG with the tank half filled with fuel, but this is totally up to you. Once your ready, all you need to do to check the CG is grab the heli by the head and rotate it up so the blades are pointing straight up and down (like it’s in a knife-edge orientation). See the picture above to get a better idea of the position we’re going for here.
One thing to make sure of is that you are not touching any part of the heli besides the head and blades, as it needs to be able to rotate freely on the main shaft. If you’re CG is properly balanced, then the heli body will stay horizontal, but if it’s nose or tail heavy, then you’ll see the nose or tail dip towards the ground. Adjust your weights and try again! Always make sure that you check the CG once with the nose pointing to the right and then again with the nose pointing to the left. This is because the one way bearing in the main hub will cause resistance in one direction.
That’s it! It really is that simple to set and check the CG. Once again this is not a step you want to overlook on any size heli, as this can have a huge effect on the way the heli flies no matter what your skill level is. If you have any questions feel free to shoot me an email at .
-Jessie