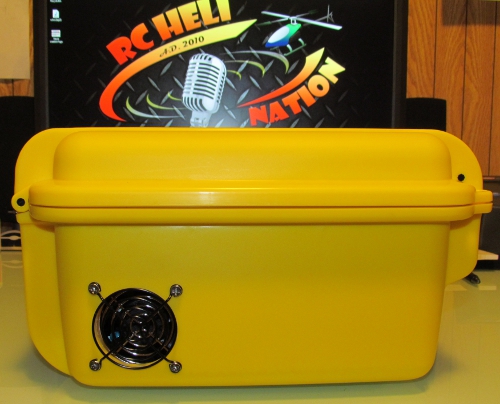
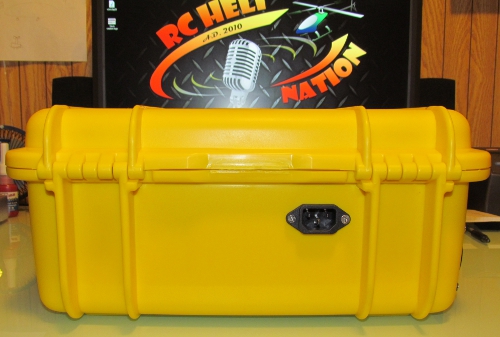
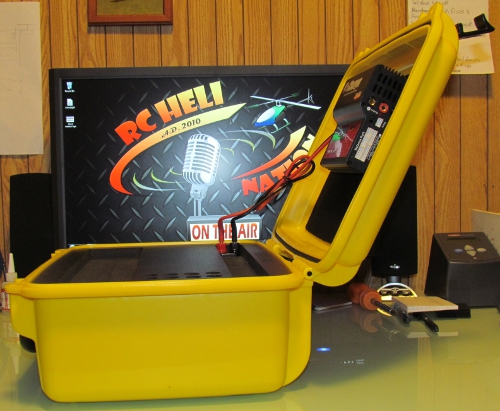
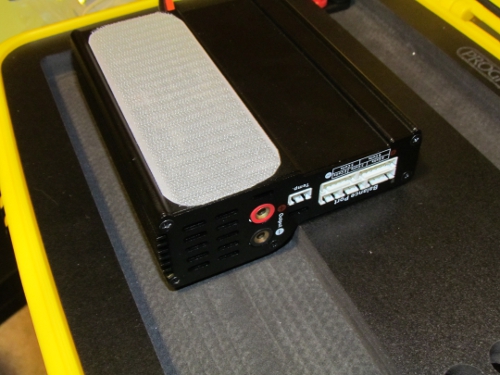
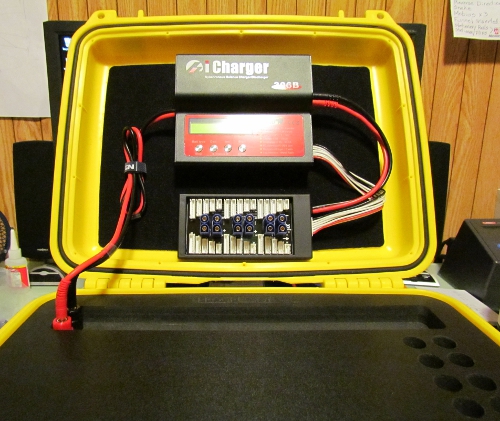
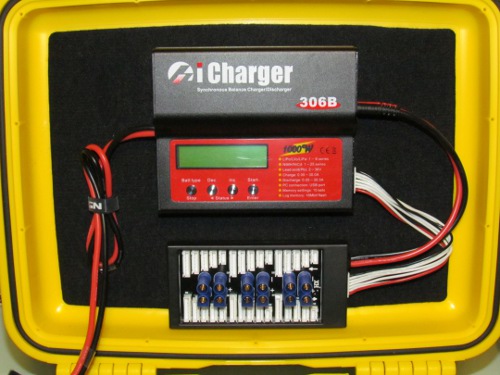
The idea behind this Progressive RC combo, is to let you customize it how you want it. With “The Hardline Solution” you can choose various selections from of these six separate options, case color, top liner color, bottom liner color, charging deck, and finally your iCharger and power supply models. Progressive RC also supplies everything you need to get the setup going. This includes a pre-installed fan grill and AC adaptor. For my setup, I chose the iCharger 306B and the Mean Well SE 1000 watt power supply. I also purchased a parallel charging board with the package.
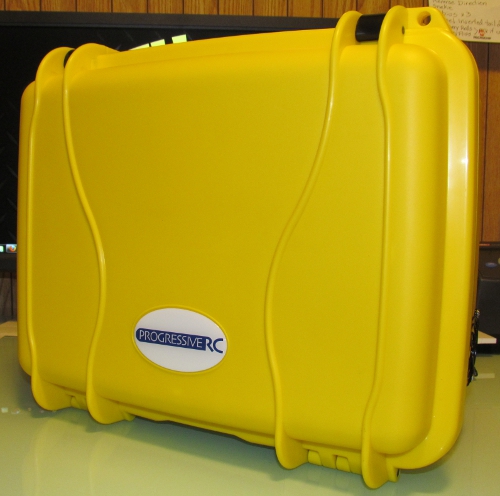
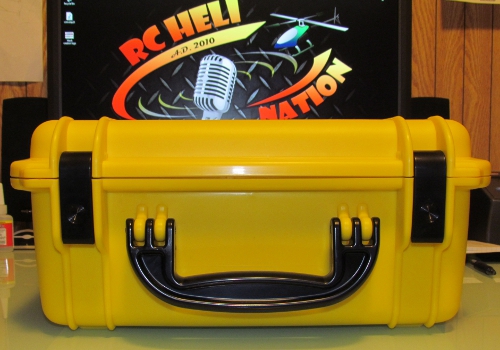
My initial impression of the setup comes from looking at the case. This case is straight up beefy. Everything from the handle to the hinges and latches feels sturdy. With a nice big handle and easy to get to latches, it’s almost like the case was designed to be used by Gorillas. Once open the case reveals ample space for the charger and power supply, plus some room for extras. When I first purchased the setup, I was a bit concerned about having the charger attached to the lid. I thought that it would be hard to read the screen and push the buttons with the lid open 90 degrees. This really isn’t a worry at all, the lid opens up to about 115 degrees, making the charger very comfortable to operate. Having the charger on the lid also leaves the deck open to hold several batteries while charging.
The deck is nicely machined and fits very well in the case. However it does not directly attach to any part of the case. Again I thought this might be an issue. Wrong again, the edges of the deck a very neatly sandwiched in the case when closed, so it cannot become dislodged or move around at all. Actually, letting the deck free float works out very well. It stays in place when you need it to, but is easy to remove for access to anything you put under the deck.
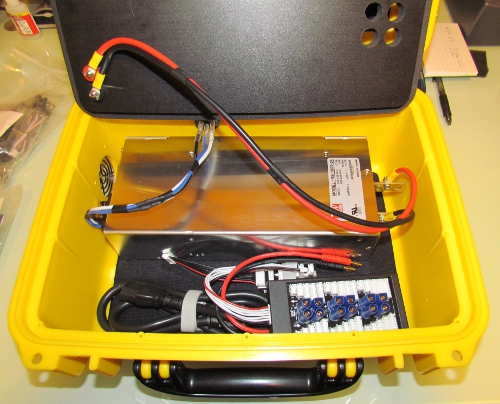
Assembly was a breeze. After marking and drilling a few holes in the charge deck, and mounting the banana plug jacks, it’s as simple as connecting a few wires. Mounting the charger and power supply is extremely simple. All that needs to be done is to stick the velcro like mounting strips to the power supply and charger, then carefully place and press the devices to the liner of the case. I was a bit skeptical of this mounting method at first, but believe me when I say; these things are not going anywhere. I mean it, I decided I wanted to try my charger in a slightly different spot and it took a good deal of force to get it off move it. After seeing the strength of it, I went ahead and use a strip of the mounting tape to hold my parallel charging board in place. Now I can easily unplug batteries with one hand.
Fully assembled, my setup comes in at a hair over 13 lbs. I don’t consider that an issue in the slightest, when you think about the sturdiness of it all and the hassle it saves. I used to carry at least two chargers with me when I went out to fly. I would carefully pack the chargers and power supplies, and hope that they wouldn’t suffer any damage on the way to the field. Then there was the extended setup time at the field as well, having to connect the chargers to power supply and mess with balance boards. None of this is an issue anymore. This setup has the power to parallel charge my packs and all I have to do is open the case and plug in the power cord.
For more information and pricing visit