Big thanks to our friend and team SAB pilot Cris Trebbi for doing this tech-tip. Motor Shaft Trimming 101.
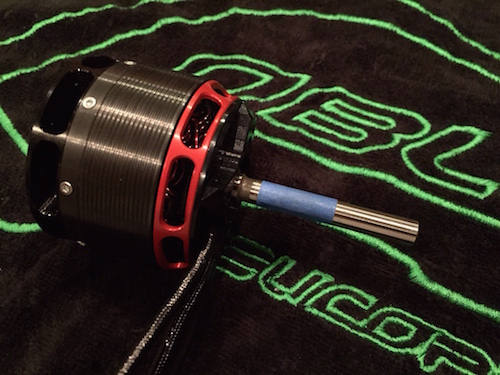
So you’re almost done building that new heli, and you just can’t wait for the maiden flight. But you install the motor only to find that the shaft is just a bit too long for a proper fit. Of course, you want to cut it to the right length the first time. And you definitely want to avoid getting any debris into that brand new expensive outrunner, or its bearings. Unfortunately, I learned this the hard way! Here is the process I use to precisely cut down a motor shaft, while protecting it from harmful metal shavings:
Wrap a small piece of painters tape around the shaft, to precisely mark the location of the cut
Cut the corner off a “ziploc” bag. The cut should be small enough that the opening will have to stretch slightly in order to get over the motor shaft.

Insert motor into the bag, slide the motor shaft through the hole, and zip the bag shut.
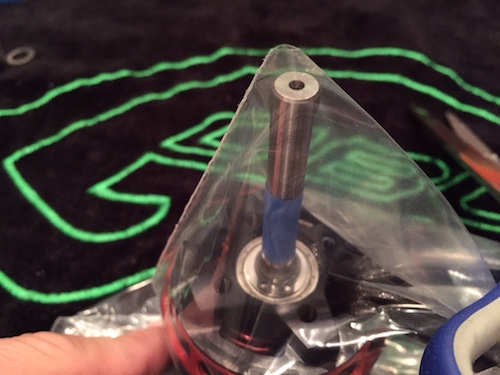
Slide the bag halfway down the blue tape, then wrap another piece of tape to secure and seal off the bag.
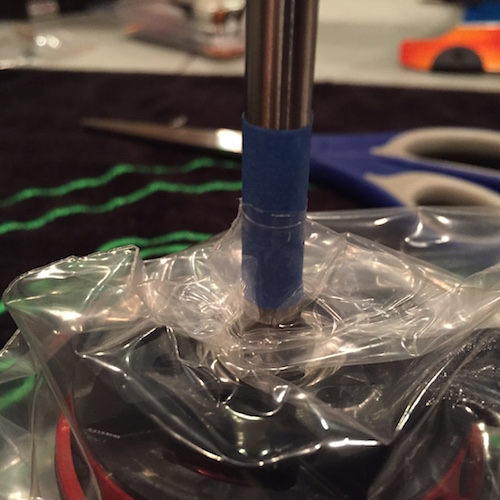

Cut the motor shaft at the end of the tape, using a Dremel tool or similar.
Carefully sand or file the edges of the cut area to remove any burrs, so that the shaft can slide smoothly into the motor pulley or pinion.
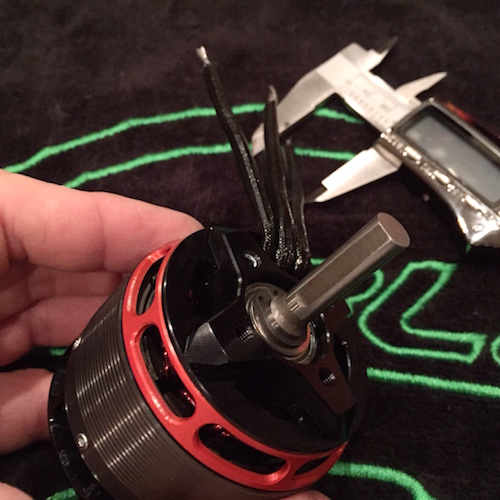
Clean all debris from the motor shaft, and remove the bag and tape. Your motor is ready to install!

– Cris Trebbi – Team SAB